
hi I’m Samantha Starr and this is
WatchMojo in our last segment we did a
basic scrapbooking page so today we’re
going to use some new tools to embellish
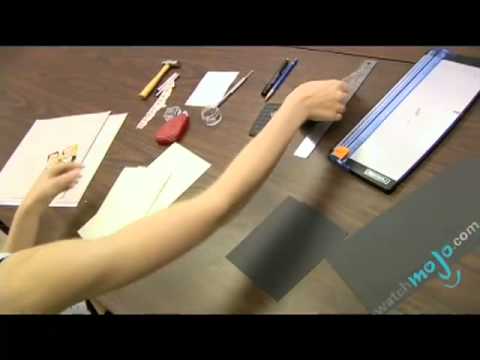
your pages what we’re going to need for
today’s page is two solid colored card
stocks to match your photos in as well
as one patterned paper with a
coordinating colored card stock you’re
also going to need eyelet setting tools
and a hammer some 3d foam adhesive and
ink q we’re gonna be working with Brad’s
so a paper piercer would be a good idea
as well we’re going to be using eyelets
so you’re going to need a self-healing
mat to protect your table and we’re
going to be using the same basic tools
that we use last time our trimmer ruler
adhesive pencil and eraser so the first
step is going to be cutting our card
stock down to size for our photo mats so
with our first color we’re going to do
it exactly what we did last week which
is cut down to four and a quarter six
and a quarter so because we’re working
with two photos we’re going to need two
pieces of paper that are four and a
quarter six and a quarter now what we’re
going to do differently this week is we
are going to double match our photos
meaning that we are going to put two
frames around them so we’re going to cut
our second color in this case the back
to a little bit bigger so we’re gonna
cut it to four and a half six and a half
so you’re gonna need two of those as
well so now what you have to start doing
is gluing your pictures down to your
mats and assembling the mats together so
you just need to put a little bit of
adhesive on the back of your photos
centering it on the smaller mats now
remember if you put things on crooked
you can always pull it back up with the
double-sided tape
at the table or something like a glue
stick which leaves a sticky mess and
then gluing that down their second photo
as well so what we’re going to do next
is we’re going to cut the block for our
title and what I’m using today is a
pre-cut title you can buy these with all
different sayings on them and they’re
ready to go what I’m going to do is I’m
going to cut a piece of paper that is
two and a half inches by eleven inches
I’m going to glue down my title block
near the top of the page a good trick
that you can use if you want to sort of
make something stand out is to use an
ink cube and run it along the edge of
your cardstock and a coordinating color
I chose a nice charcoal color you see in
the photo and the suits and then you’re
going to apply adhesive to the back of
it and center it on your page
[Music]
Please follow and like us: